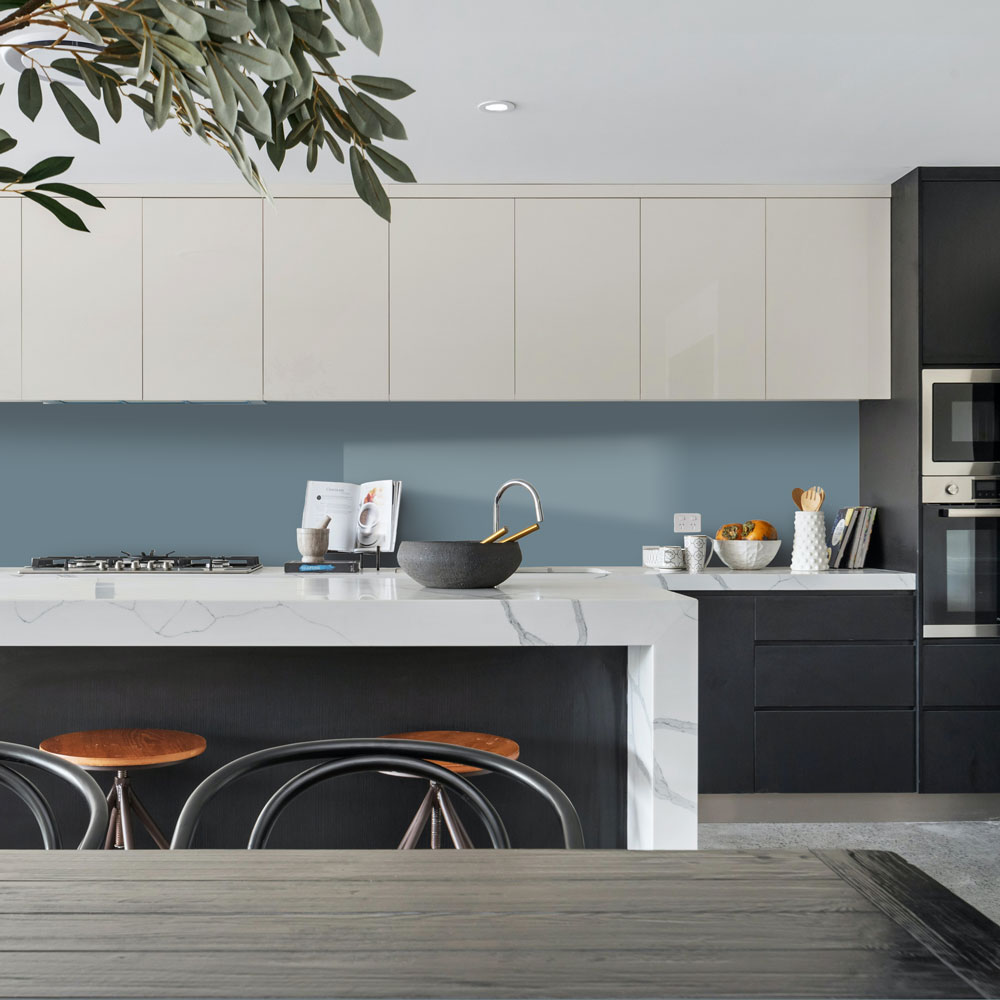
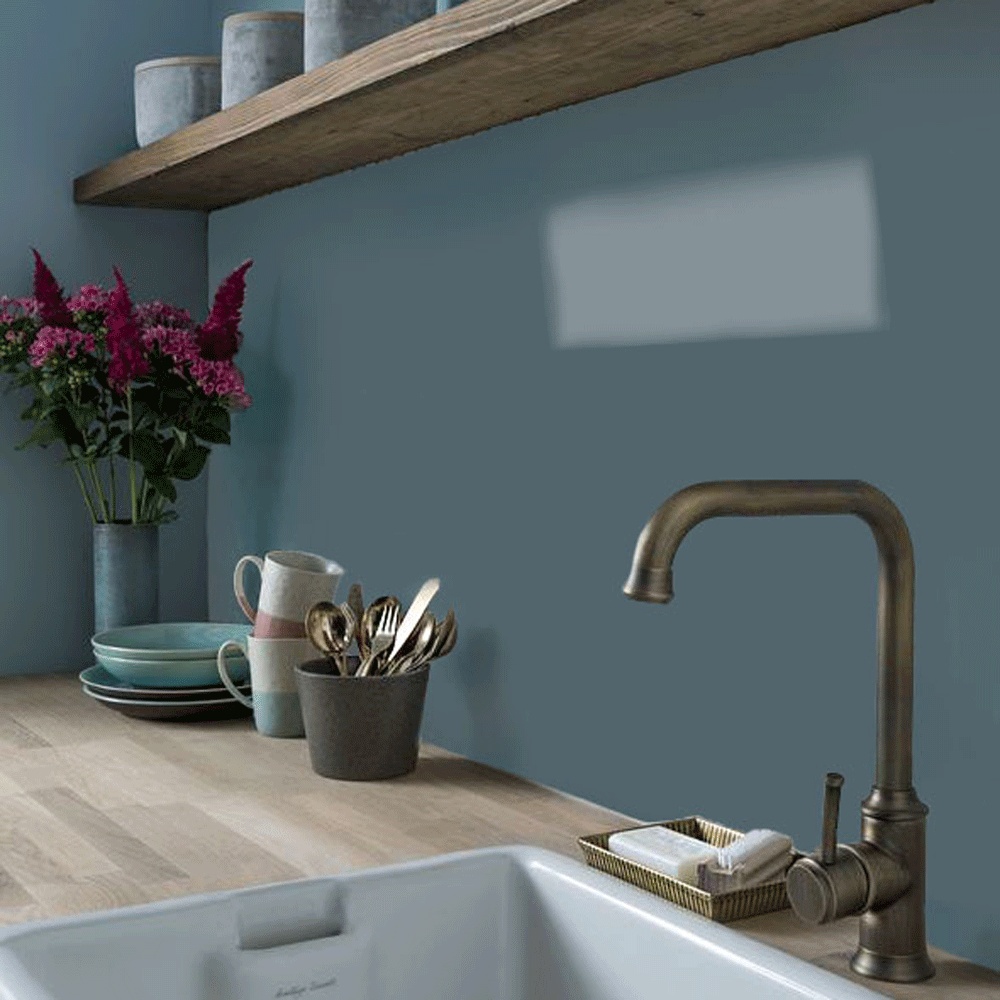
Petrol Blue AluSplash Splashback

Petrol blue is inspired by the depth of the ocean, it will bring boldness and serenity to your kitchen or kitchen or bathroom. Petrol Blue is calm and can accentuate small and large areas with a sense of tranquillity.

Width:

Height:

Socket cutouts:

Panel cutout areas:

Upload Sketch:
Click here to upload file
Upload a sketch to help us process your order - must include a diagram with exact measurements of your splashback and its cut out areas. Large files may take a minute to upload. Please don't refresh or close your browser.

Accepted file types: jpg, jpeg, png, gif, pdf, xfs, dwg, dws, dwt, dxf, dwf, psd, ai

Quantity:


Price per Splashback: £70.06 inc. VAT £58.38 ex. VAT

OR Get a Sample
Add to Wishlist
Add to Wishlist

Bespoke Shapes

Choose another Shape

Description

Petrol Blue AluSplash Splashback

Our Petrol Blue AluSplash Backsplash has been pressure tested by our splashback specialists to ensure that you have the most beautiful yet practical finish. A modern alternative to glass, acrylic and tiled splashbacks; the AluSplash collection is thoroughly versatile and eco-friendly. The AluSplash colour palette has been created to include beautiful earthy and neutral colours, as well as vibrant and bold accent hues to suit any interior colour scheme.

Features: 

  •    Cut to your exact size requirements
  •    Rigid material
  •    Suitable to be used behind a kitchen hob
  •    Suitable for use in bathrooms behind sinks and showers
  •    Easy to work with even for first time DIYers – can be easily drilled, screwed or riveted without cracking
  •     BS 476 Part 7 Class 1 Fire Rating
  •    4mm thickness

Socket and Corner Cut-Outs 

Simply fill out your dimensions above or send us a drawing with the required measurements, along with any intricacies like socket cut-outs or corner cut-outs to allow for cabinets, cooker hoods and other awkward spaces in your kitchen. We can either create a technical drawing that will be emailed to you for approval or you can purchase one of our splashback templates with your dimensions to ensure the measurements were correct.

Please note any delay in receiving approval will result in an amended despatch date.

Easy DIY Fitting

All our splashbacks can be fitted without the need for professionals. We also offer a specialist fixing kit that can be added to your order in the checkout process. Please use the CT1 sealant recommended to avoid any issues with fitting. You can purchase this with our fixing kit HERE.

Fixing Kit Contents:

  • 1 x Low Modulus Silicone Mastic Glue
  • 1 x Wet and Dry Sandpaper
  • 1 x Spacers and Wedges to level and space panels
  • 1 x Installation Instructions
  • 1 x Tube of Silicone is enough to fix approximately 1.5m² of splashback to the wall

Short Product Description: Petrol Blue AluSplash Backsplash

MEASURING

Please read our measuring guide before placing your order.

CLICK HERE FOR OUR  MEASURING GUIDE

If you are still unsure of your measurements, use our Templating Service to eliminate any errors with dimensions.

CLICK FOR TEMPLATE

FITTING

Fitting one of our splashbacks yourself is straightforward and does not require professional help. 

Looking for an Illuminated Splashback fitting guide? Click the link below for more details.

CLICK HERE FOR OUR FULL ILLUMINATED SPLASHBACK FITTING GUIDE.

Follow these five simple steps for standard splashbacks:

1.  The surface to which you are applying the splashback must be clean, flat and dry. However, if the surface is porous e.g. plaster, wood, or MDF, we recommend that you seal the wall first using a watered-down PVA mix specialist sealant.

2.  Gently rub the area with the wet and dry paper to provide a key for the glue. Wipe area clean.

3.  Carefully apply the CT1 sealant, take care not to apply this too close to the edges. It must be applied as instructed below, otherwise, the splashback will lift.

Important notice: Only use the CT1 sealant recommended by us to ensure the splashback does not lift or warp.

4.  To ensure your panel is in the correct position, use the panel spacers and wedges provided in the fixing kit.

5.  Firmly press your splashback into place for 30 – 60 seconds to ensure a good bond is created. Remove any spacers or wedges after 24hrs once the silicone has cured.

If you would like a more detailed measuring and fitting guide for standard splashbacks, CLICK HERE.

SAMPLE DELIVERY IS FREE!

FREE ECONOMY DELIVERY ON ALL ORDERS

Delivery OptionDelivery TimeTrackedSigned ForCost (ex. VAT)Cost (inc. VAT)
Economy5-7 Working DaysYesYesFREEFREE
Collect in PersonN/AN/AN/AFREEFREE

*Please note if your order contains cut-outs, custom colours, custom shapes, patterned splashback or Illuminated Splashbacks, the above delivery time will commence once your approval of the technical drawing has been received. Marble effect and Illuminated Splashbacks may have delayed lead times.

Please note: working days DO NOT include weekends.

Please note: Orders delivered outside of the UK may be subject to local import duties.

How quickly will my order arrive?

We will send you a notification email when your order has been dispatched. The time your order takes to arrive will depend on the delivery option you choose.

While we always try our best to dispatch every order following the above guidelines, during extremely busy periods dispatch times may increase by up to one day. In addition we will inform you at checkout if delivery may take a little longer due to high demand.

Special delivery instructions

If you have any special instructions for delivery, such as leaving your parcel with a neighbour, please include them in the ‘special instructions’ section at the checkout. Please note that our couriers will not respond to notes left on doors for security reasons

Collect in person

You are able to collect your order from our factory site in Lee Mill, Devon (free of charge) by choosing the relevant option at the checkout. At this point delivery charges will be removed. 

LOST, DAMAGED OR FAULTY ITEMS

If your splashback has been lost or damaged in transit, has arrived faulty, or is not what you ordered, please call us within 24 hours of receipt on 01305 779955. We can then assess your situation and decide on the best course of action to take. 

If your product has developed a fault then please contact us with your order number to hand. We can then discuss the preferred course of action that you would like us to take. 

14 DAY RETURNS POLICY

If for any other reason you want to return a standard product to us, we offer a 14 day returns policy. Bespoke items (where you have specified the width and height of the material) cannot be returned to us unless they are clearly faulty.

We recommend that you use a signed for service, via a reputable courier, such as Royal Mail for smaller items and Parceline for larger items, with adequate insurance to cover the value of the item.

To facilitate a speedy refund or replacement, please include a copy of your receipt and state the reason for the return.

Your statutory rights are not affected by the above terms and conditions.

No, hardcoat has the same stunning high gloss finish as our normal acrylic.

We do not offer a measuring service but we do have an excellent blog post here to help anyone measure for their splashback accurately.

Splashbacks must be fitted to a flat surface, if the tiles are flat then you may mount directly to them.

We recommend using our fitting kit which includes everything you need.

You cannot use acrylic directly behind the hob. However we do offer glass splashbacks which can be printed in exactly the same colour and are ideal for fitting near to heat sources.

They have a Class 3 fire rating which means they are recommended for use in schools, hospitals and other public spaces.

How easy is it to install?

Our illuminated splashbacks can be easily DIY installed with basic home tools. There are different fitting solutions depending on your kitchen space; we offer a free consultancy service to discuss the option if you are unsure.

CLICK HERE TO BOOK A CONSULTATION 

CLICK HERE FOR THE FULL INSTALLATION GUIDE

How do you fix the splashback to the wall?

There is a variety of ways you can fix your splashback to the wall. One option includes using a solvent-free mastic such as CT1, or for easy access, you could use industrial command strips.

How do I know what my splashback will look like in my kitchen?

You can order samples of your desired Illuminated Splashback HERE. This will give you an accurate representation of what the splashback will look like in your home.

We also offer a free bespoke render service, providing you with the opportunity to see a digital image of your splashback in your kitchen. Simply send us a picture of your kitchen and a list of your favourite splashbacks and we will take care of the rest. 

Send us your render information to info@customsplashbacks.co.uk

How expensive is it to run?

As the splashback uses only LED lights, the running cost is under £2 per year if used constantly.

What if my splashback is too bright?

All of our Illuminated Splashbacks come with a dimmer switch so you can tailor the splashback to your mood.

What sort of cooker can my Illuminated Splashback go behind?

We don’t recommend placing it behind any direct heat sources such as agas, Rayburns or gas cookers. If you have an electrical convection hob it is safe to use with a 150mm gap from the heat ring.

Let us know if you have any other questions, our splashback specialists are happy to help.

Contact us here!

Use our Visualiser to see your new
splashback in your kitchen

Sometimes Visualising your splashback in your kitchen can be difficult. That is why we have created a Kitchen Visualiser that will allow you to adapt our set style rooms that best match the colours and textures within your home.

Browse our Splashbacks

INSPIRATION

 Struggling for inspiration? Why not relax and look through some of our favourite creations.

DISCOVER CREATIVE IDEAS AND SHOP STRAIGHT FROM OUR SOCIAL MEDIA HERE!

Petrol Blue AluSplash Splashback

Custom Splashbacks

Follow